Foundation Coffee Co.

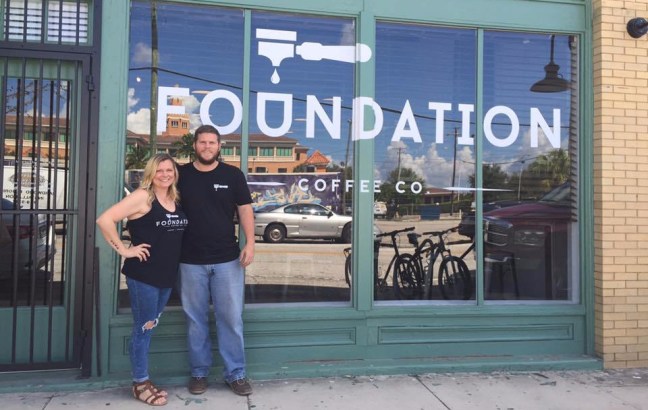
Looking for a delicious and artful cappuccino? Foundation Coffee Co. ranks up there for quality coffee and artistic touches.  And I don’t just mean in their coffee drinks.  Both locations have unique settings that captivate the eye and encourage relaxation with a bit of industrial creativity.

dsc_1103


As you now may know, Foundation Coffee Co. has two locations in the Hillsborough County area.  Foundations first location started in Riverview on Boyette Rd. It has a beautiful outdoor setting with an appealing amount of seating.  They have a high class trailer where they brew their specialty coffee. Not interested in Coffee?  Well they even have a few smoothies and baked goods from small businesses around the Tampa area. Just want to enjoy the scenery?  Find a comfy seat and enjoy the weather.  There is complimentary water to sip on while you take in your surroundings.  Dogs are welcome to enjoy the setting too.

dsc_1086
Riverview location has a drive-thru

The Tampa location is a beautiful brick building that makes you feel as if you’ve traveled back in time.  As you walk in you are taken back by the craftsmanship of each item chosen and built for this particular setting.  Comfortable seating, a water feature to gaze at and listen to, an amazing coffee drip system lifted up against a wall, historic photos and an amazing back patio that also has a creative water feature.  Consider yourself lucky as you sit and sip your coffee here.

If and when you have time to visit make sure to check out the artwork on the walls.  An art agency called FRINGE Creatives helps artists sell their work in different social hang outs around Tampa.  If you find yourself interested in one, they are for sale.  It’s just another great way that Foundation Coffee Co. supports their small business friends.

dsc_1096

Both locations are a great place to enjoy friends and relationships. Each location focuses on their community and works to serve their customers appropriately.  They recognize that they are a small business and enjoy helping other small businesses.  And though they may be small they have big dreams.  They recently began renting out their coffee shop in downtown Tampa for small events (you can rent it too by going to their website).  They support the monthly Indie Flea Market. And they have even created a portable coffee station for events, like weddings.


Visit their website for more information on this amazing Coffee Co.  http://www.foundationcoffeeco.com/

coffee-owners
Emily and Jason Smith – Owners of Foundation Coffee (photo cred: Foundation Coffee Co.)

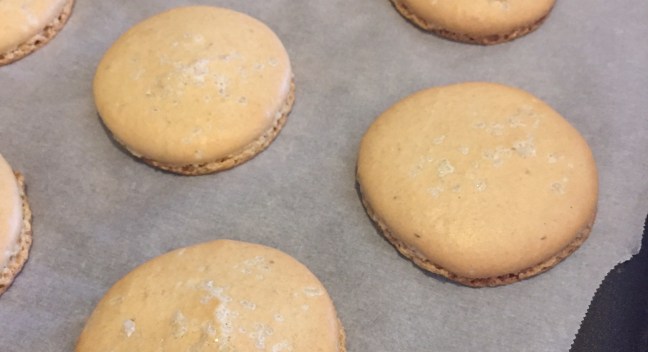
I’m learning a lot from these two entrepreneurs.  I’m also excited to let you all know that we have teamed up and I am selling my macarons at the Foundation Coffee Co. in Riverview Fl.  Stop by and try them.  I would love to hear from you and any feedback would be helpful.  Hoping to perfect these delicate cookies and learn more about owning my own business.  Thanks Foundation Coffee Co. for your support and encouragement!

Katie

Caramel Salted Macarons

Caramel Salted Macarons

These macarons are a great treat with a good cup of coffee.  Grab your favorite book, snack and sip and you’ll be smiling all day.  I tried quite a few different caramel salted macaron recipes.  From homemade caramel to this ingenious idea to boil a can of sweetened condensed milk.  I’d have to say this is one of the easier macaron recipes I’ve tried and highly recommend it for your first attempt at macarons.  Make sure it matches your taste buds though; not everyone likes the sweet and salty caramel treat.  I made mine a bit sweeter by adding light brown sugar into the egg whites instead of regular granulated sugar. Bake, share and enjoy!

img_9664

Macaron Filling – Dulce de Leche

Ingredients:

1 can of sweetened condensed milk

Instructions:

  1. Bring a large pot of water to a rolling boil.  Make sure that you put enough water in the pot to completely cover the can.
  2. Remove the label from the can of sweetened condensed milk and carefully submerge it into the boiling water using a pair of tongs.  Make sure you place the can on its side, so it can roll around.
  3. Boil the can for 3 hours, making sure the can is covered with water at all times.  Add more boiled water if needed.
  4. Using a pair of tongs, take the can out of the pot and place it onto a heatproof surface to cool.  Make sure it has cooled to at least room temperature before opening the can, otherwise the dulce de leche will squirt out like a fountain.
  5. Once cooled, place dulce de leche in the refrigerator for an hour and a half (cooled dulce de leche can be stored, tightly covered in the refrigerator for up to 3 weeks) .
  6. When finished cooling, open the can, stir and scoop the cooled filling into a piping bag.  Pipe a small amount onto the macaron shells. Don’t overfill.
  7. Gently place matched shells together.


Macaron Batter

Ingredients:

¾ cup almond flour

1 cup of powdered/confectioners sugar

1 tsp of cream of tartar

2 egg whites

¼ cup light brown sugar

1 tsp coarse sea salt

img_9636

Instructions:

  1. Line parchment paper on two baking sheets.
  2. Have a piping bag prepared with a ½ inch tip and place it in upright in a glass cup.
  3. In a medium bowl, sift almond flour, powdered sugar and cream of tartar. Set aside until step 6
  4. In another medium bowl, beat egg whites at high speed using a wire whisk attachment
  5. When it begins to foam, add in brown sugar and continue to mix until peaks form (2 drops yellow food coloring – optional)
  6. Using a spatula, fold dry ingredients into egg whites.  Do this in TWO batches.
  7. Scoop batter into prepared piping bag.
  8. Pipe batter onto the parchment paper about 1 inch in diameter. Remember to tap the trays so air bubbles surface and macaron shells flatten.
  9. Preheat oven to 300
  10. Sprinkle a pinch of coarse sea salt on top of each macaron. Let the macarons sit for 20 to 30 mins until a “skin” forms.
  11. Bake one pan at a time for 12 to 15 mins. Depending on your oven
  12. Remove the pan from the oven and let the macaron shells cool completely.
  13. Once cooled, begin flipping and matching liked sized macaron shells.  This way they are ready for the filling.

Nila’s blog was extremely helpful!  Make sure to visit her blog for great recipes with good details. the tough cookie