

Reuse what you have to increase storage and organization in your home.
There are so many ways you can use this piece and it seriously only cost 5 to 10 dollars to complete.
The below steps are guidelines and are not meant to be exact for viewers. You can use what you have in your home to make it work for you. Make sure you measure and level before doing all the painting.
Steps:
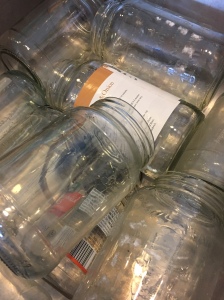
1. Keep jars after you have used them (pickle jars, jam jars, sauce jars, etc) and make sure to soak and scrape off labels
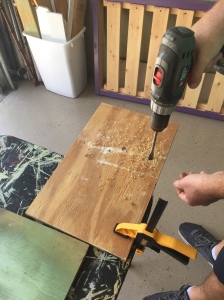
2. Cut the wood


3. Drill holes for jar wire holders
4. Sand the wood


5. Add hangers on the back of the wood
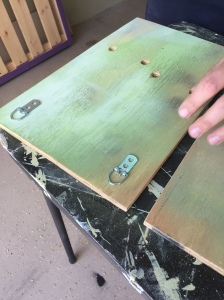
6. Stain the wood


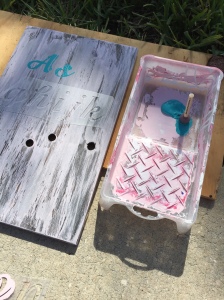
7. Paint the wood (Check your garage for any left over paint or check out the clearance section of Lowes or Homedepot)


8. Add Stencil for name or title
9. Add the wires with jars and make sure they are tight (label them if necessary). The neat things about these wire cords is that they can be loosened and tightened.


10. Hang on the wall


11. Fill them with many different items. Things you just enjoy or things you are trying to organize. We are using our crafty jar holders for our children to put their money earned. A SHARE jar and a SPEND jar. We are hoping to teach them the importance of spending/saving money wisely as well as learn to give to others in need.


I hope you enjoyed this How To; let me know what you think and be sure to share what you would put in your jars 🙂
Thanks,
Katie

This is perfect! I give my kids a weekly allowance for doing a few chores and I’ve been trying to figure out where I can put them so the kids can see them (incentive) but where my youngest can’t get into them
Hanging them is a great idea! I love the share jar idea, totally stealing it!!
LikeLiked by 1 person